How to Create Your First Archetype Art Journal Page
You have discovered your archetype. You feel something stir when you read about it. Now what?
This is where the inner work becomes tangible. Where you stop reading about yourself and start making something that reflects who you are.
An archetype art journal page is not a project. It is a practice. A way of sitting with what you are discovering and letting it take shape in your hands.
Here is how to create your first one.
What You Will Need
You do not need much. The simplicity is part of the point.
Essential:
- A journal or sketchbook (any size, blank or lined pages both work)
- Scissors
- A glue stick or liquid glue
- Colored pencils, watercolors, or markers
Optional but useful:
- Washi tape
- A fine-tipped black pen for writing
- Full-sheet sticker paper (makes gluing much easier)
- Extra blank pages to layer behind your work
The printable element:
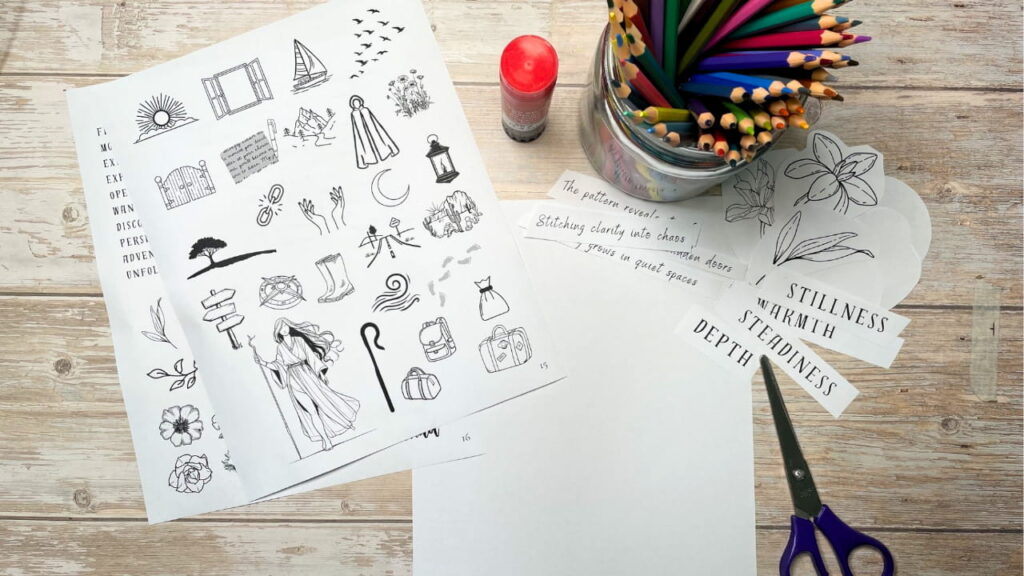
- Your archetype kit pages (symbols, botanicals, micro-phrases, shapes)
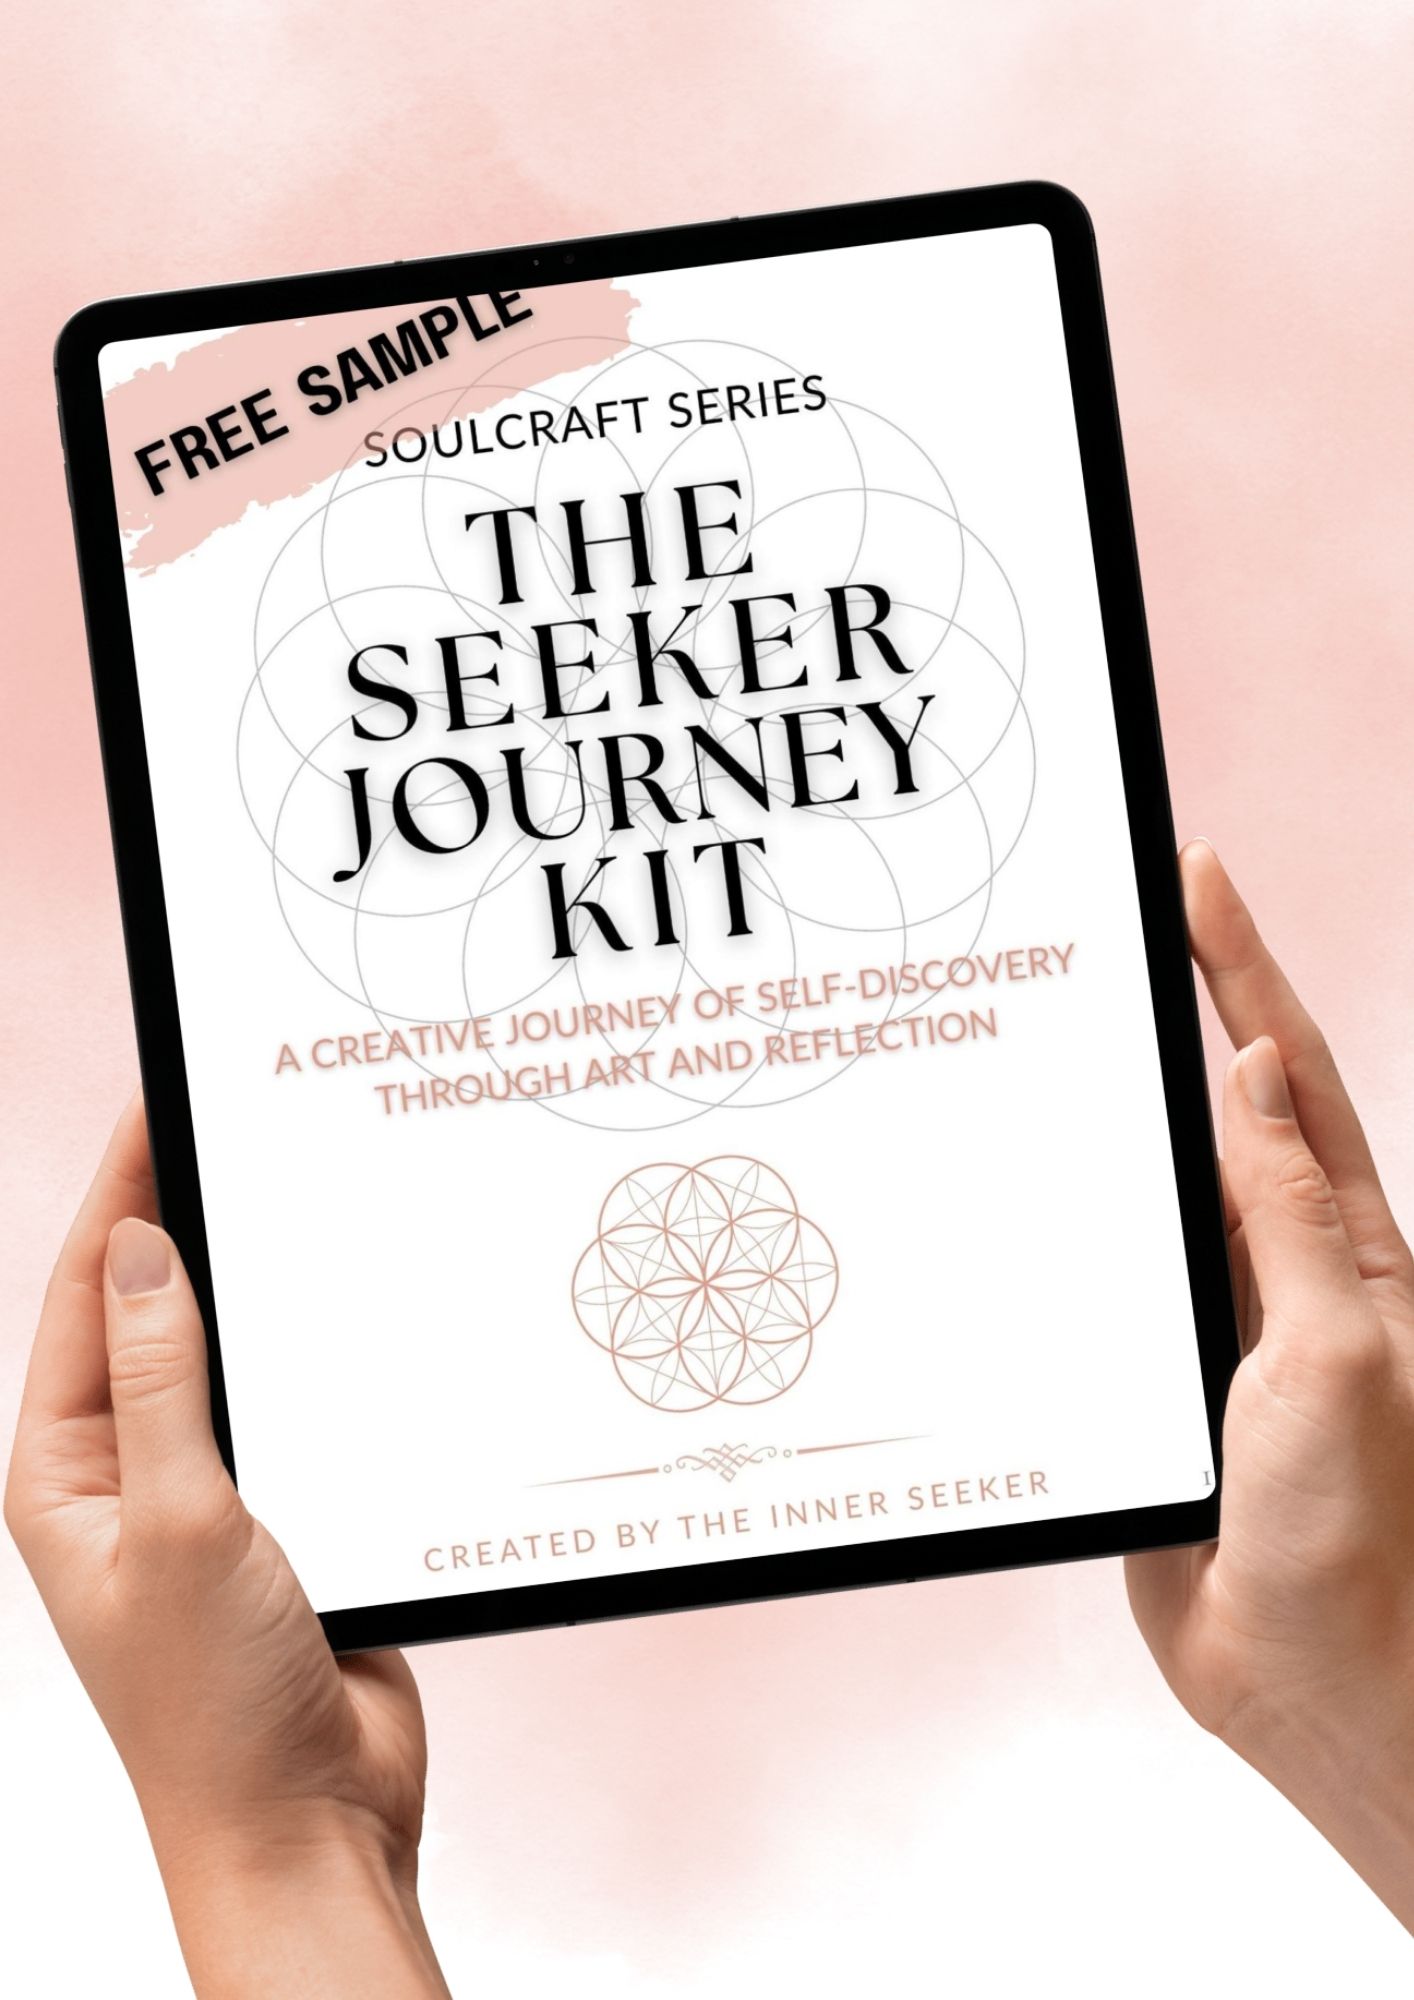
If you do not have a kit yet, the free Seeker Journey Kit Sampler is the right place to start. It includes everything you need for one complete archetype page. Get it free here.
Before You Begin
Resist the urge to jump straight to cutting and gluing. Give yourself two minutes first.
Read through your archetype’s keywords. Then look at its symbol. Notice what you feel, not what you think you should feel.
This is not a craft project you are completing. It is a conversation you are opening. The page you are about to create will reflect something true about you, and that starts before the scissors come out.
Step by Step
Step 1. Prepare your space
Find a quiet corner. Put your phone face down. If it helps, light a candle or open a window.
Lay out your journal, your printed kit pages, and your supplies. You are not setting up an art studio. You are creating a small pause in your day.
Step 2. Print your kit pages
Print your archetype pages on standard printer paper. If you have sticker paper, this is a great time to use it for the symbol and phrase elements.
You do not need a high-end printer. Standard quality works well. The textures and details are designed to read clearly at home printing resolution.
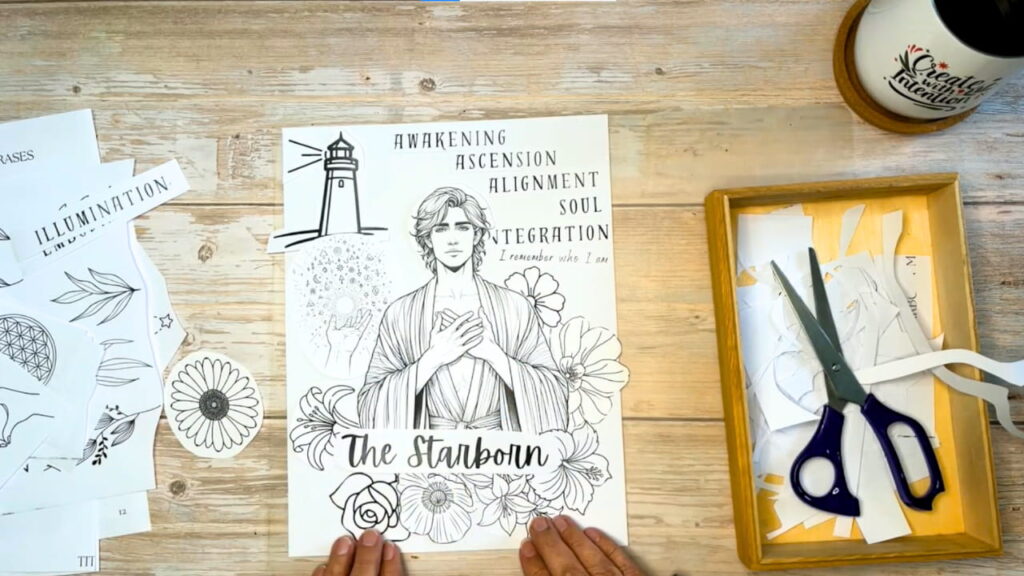
Step 3. Spend time with your archetype
Before you cut anything, look at the main archetype illustration. Sit with it for a moment.
What does it awaken in you? Curiosity? Recognition? Something quieter, harder to name?
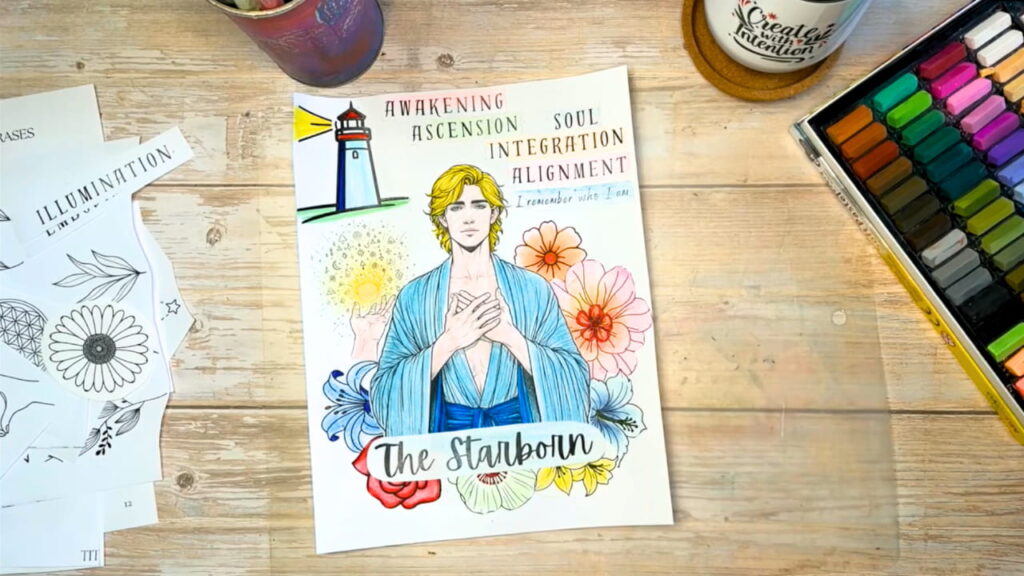
You can color the illustration now if you want to personalize it before assembling your page, or you can leave it for later and let your color choices emerge as you work.
Step 4. Cut the elements that call to you
Go through the symbols, botanicals, shapes, and micro-phrases in your kit. Cut slowly. You are not rushing to finish. Each piece you choose to keep is a small act of self-knowledge.
You will not use everything. And that is fine. Cut what speaks to you and set the rest aside.
Step 5. Arrange before you glue
Lay everything out on your journal page without gluing yet. Move pieces around. Try your archetype illustration in the center, in a corner, large, small.
There is no correct composition. The arrangement that feels right to you is the right one.
Step 6. Glue and layer
When you are satisfied with the layout, glue each piece down. Start with the largest elements and layer the smaller ones on top.
If you are using watercolors or ink, you can add color or texture behind your pieces before or after gluing.
Step 7. Add your words
Once the collage is assembled, open to the journal prompts for your archetype. Choose one that feels alive right now and write your response directly on the page, in the margins, or on the facing page.
This is where the art becomes self-discovery. The page holds your archetype. The writing opens it.
Step 8. Let it dry and keep it
If you have used any wet media, let the page dry fully before closing your journal. Then keep it.
Some seekers return to the same page weeks later and notice what has shifted. Others repeat this process each season. Some photograph their pages and keep a digital archive.
There is no single right way to use what you make. The only rule is that you made it.
What Makes an Archetype Page Different from Regular Art Journaling
Most art journaling is expressive. You work from emotion or inspiration and let the page reflect your mood.
Archetype journaling goes a step further. Your archetype is not just a theme. It is a lens for self-inquiry. The symbols carry specific meaning. The phrases are chosen to surface something real. The journaling prompts connect what you made with what is alive in your life right now.
The result, then, is a page that is both personal and symbolic. Something you made, and something that reflects a deeper pattern in who you are.
Ready to Go Deeper?
You now have everything you need to begin.
The free Seeker Sampler gives you one complete archetype experience so you can try this process before committing to the full kit.
Download the free Seeker Journey Kit Sampler here.
When you are ready to work with all 24 archetypes, the full Journey Kit gives you everything: 24 complete archetype kits, the Companion Guide, a Symbols Library, and guided “create with me” videos for each archetype.
What Comes Next
Once your first page is complete, you have a starting point. Your inner seeker has been awakened through making.
The next step is to deepen the conversation. In the next post, we will look at specific art journal prompts for self-discovery, organized around the inner landscape your archetypes are mapping.
Read: Art Journal Prompts for Self-Discovery (link goes live June 9)
Ready to Find Yours?
Not sure where to start? The Archetype Quiz will point you toward the archetype that is most alive in you right now. It is your starting point on the journey.
This is what creating with your archetype looks like. Ready to try it yourself? The free Seeker Kit is your starting point.
Download the Free Seeker Sampler
A gentle introduction to the Seeker archetype. Explore quest, curiosity, and guidance through mindful creativity.
Digital PDF • Instant download